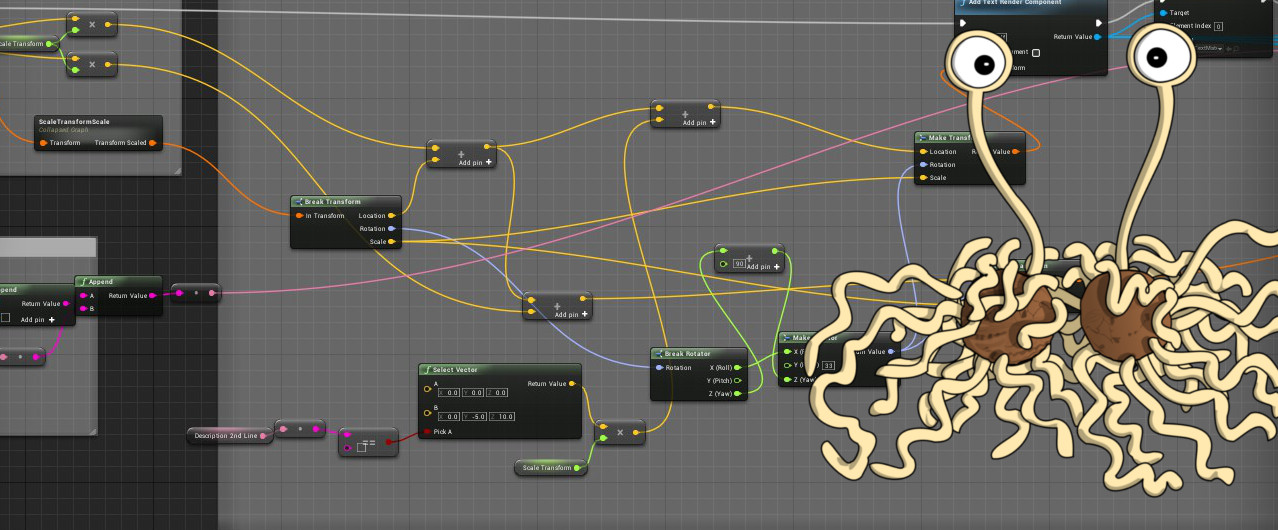
Whether you prefer coding in c++ or the more visual oriented, node-based Blueprint system, you have to admit that Blueprints are very popular and widely used. Designers use them, artists use them, every indie project uses them, even seasoned programmers use Blueprints from time to time. Precisely because of this wide range of users with all kinds of backgrounds and levels of experience, you can find many Blueprints which are poorly organized, hard to read and difficult to understand. We all have opened Blueprints before and immediately thought “OMG, what is going on here!? This looks horrible”. Just in case you are new to Unreal Engine and don’t know what I’m talking about, check out Allar’s Blueprints from Hell site. But fear not, this article will help you banish the ruthless Spaghetti Code Monster once and for all. Share this with your friends, so they will not fall prey any longer to this evil.
1. Never Copy Code
In software engineering words it’s called the “don’t repeat yourself” (DRY) principle. Let’s say you just used a few nodes in your level Blueprint to spawn an actor, set a few of it’s parameters and play a sound. Now you decide you want to spawn a second actor. The naive developer will say “This is easy, I’ll just copy these few nodes and I’m done”, while every programmer will say “Nooo, don’t do it! Make a function instead”. Functions and macros are tools made specifically for this job. If you want to do something multiple times in your code, possibly even in two different locations in your Blueprint you create a function with input parameters for the things you might want to adjust when using the function. I refer you to the Unreal Engine documentation to read about the differences between functions and macros. If you decide later that you also want to play a particle effect when spawning your actor, you simply add it to the function. Had you copied your nodes over and over again, you would have to find all your copies and add your particle effect spawning to every single one of those places. Copying code always reduces readability and adds more work, so make use of functions and macros. Also worth mentioning is the collapse to feature to quickly turn a selection of nodes into a function or macro. You can access this through the right click menu.
2. Use Categories
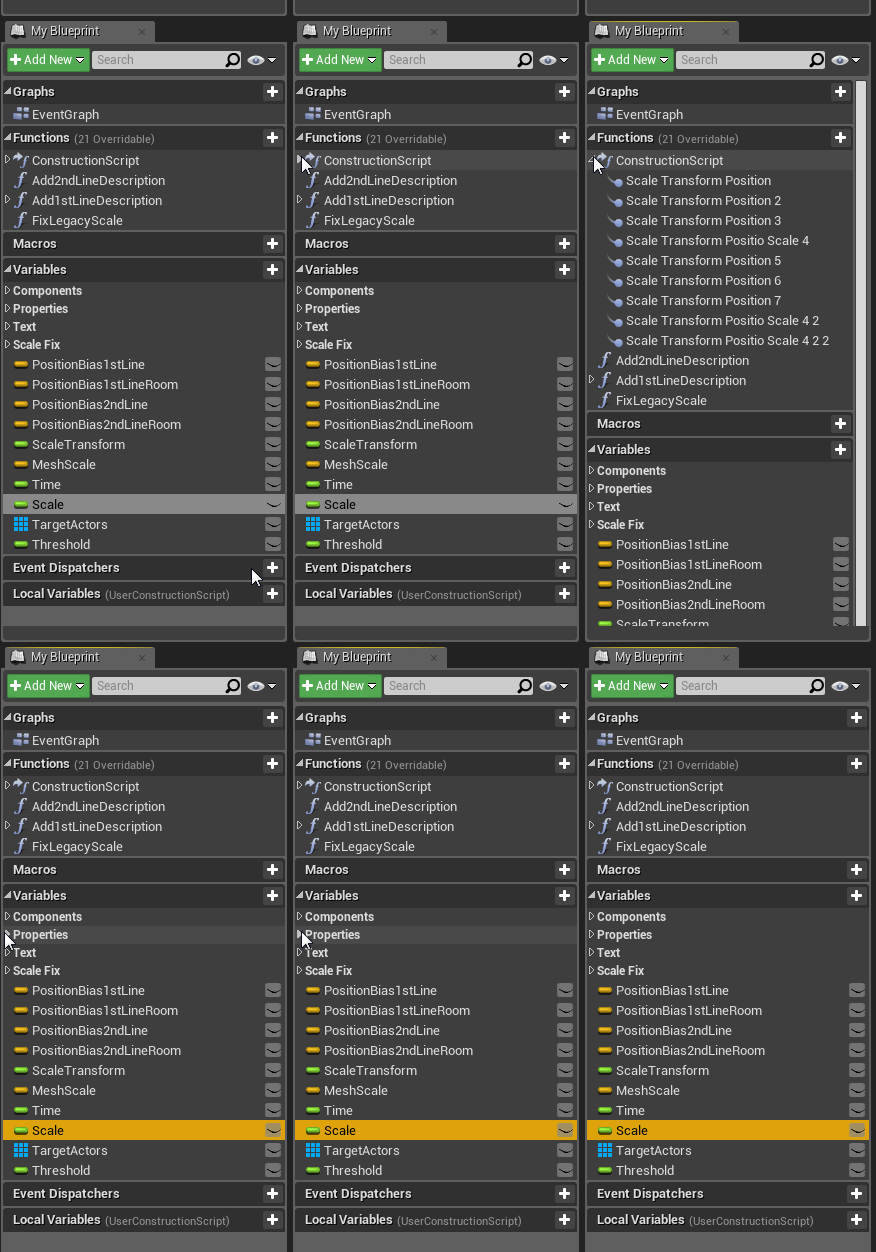
When you add several functions, macros and variables to the same blueprint, maybe even belonging to several distinct and unrelated features, you can find yourself searching the tab on the left side to find the one variable you were looking for. Luckily functions, macros and variables can easily be organized into categories which work like any folder structure. Categories can be collapsed and you can drag and drop items into existing categories. To create a new category, select a function, macro or variable and check out the details panel on the right. You can enter a new category name and hit enter. Simple as that.
3. Avoid Long Wires
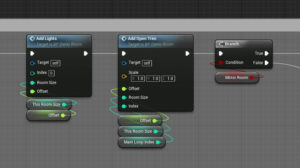
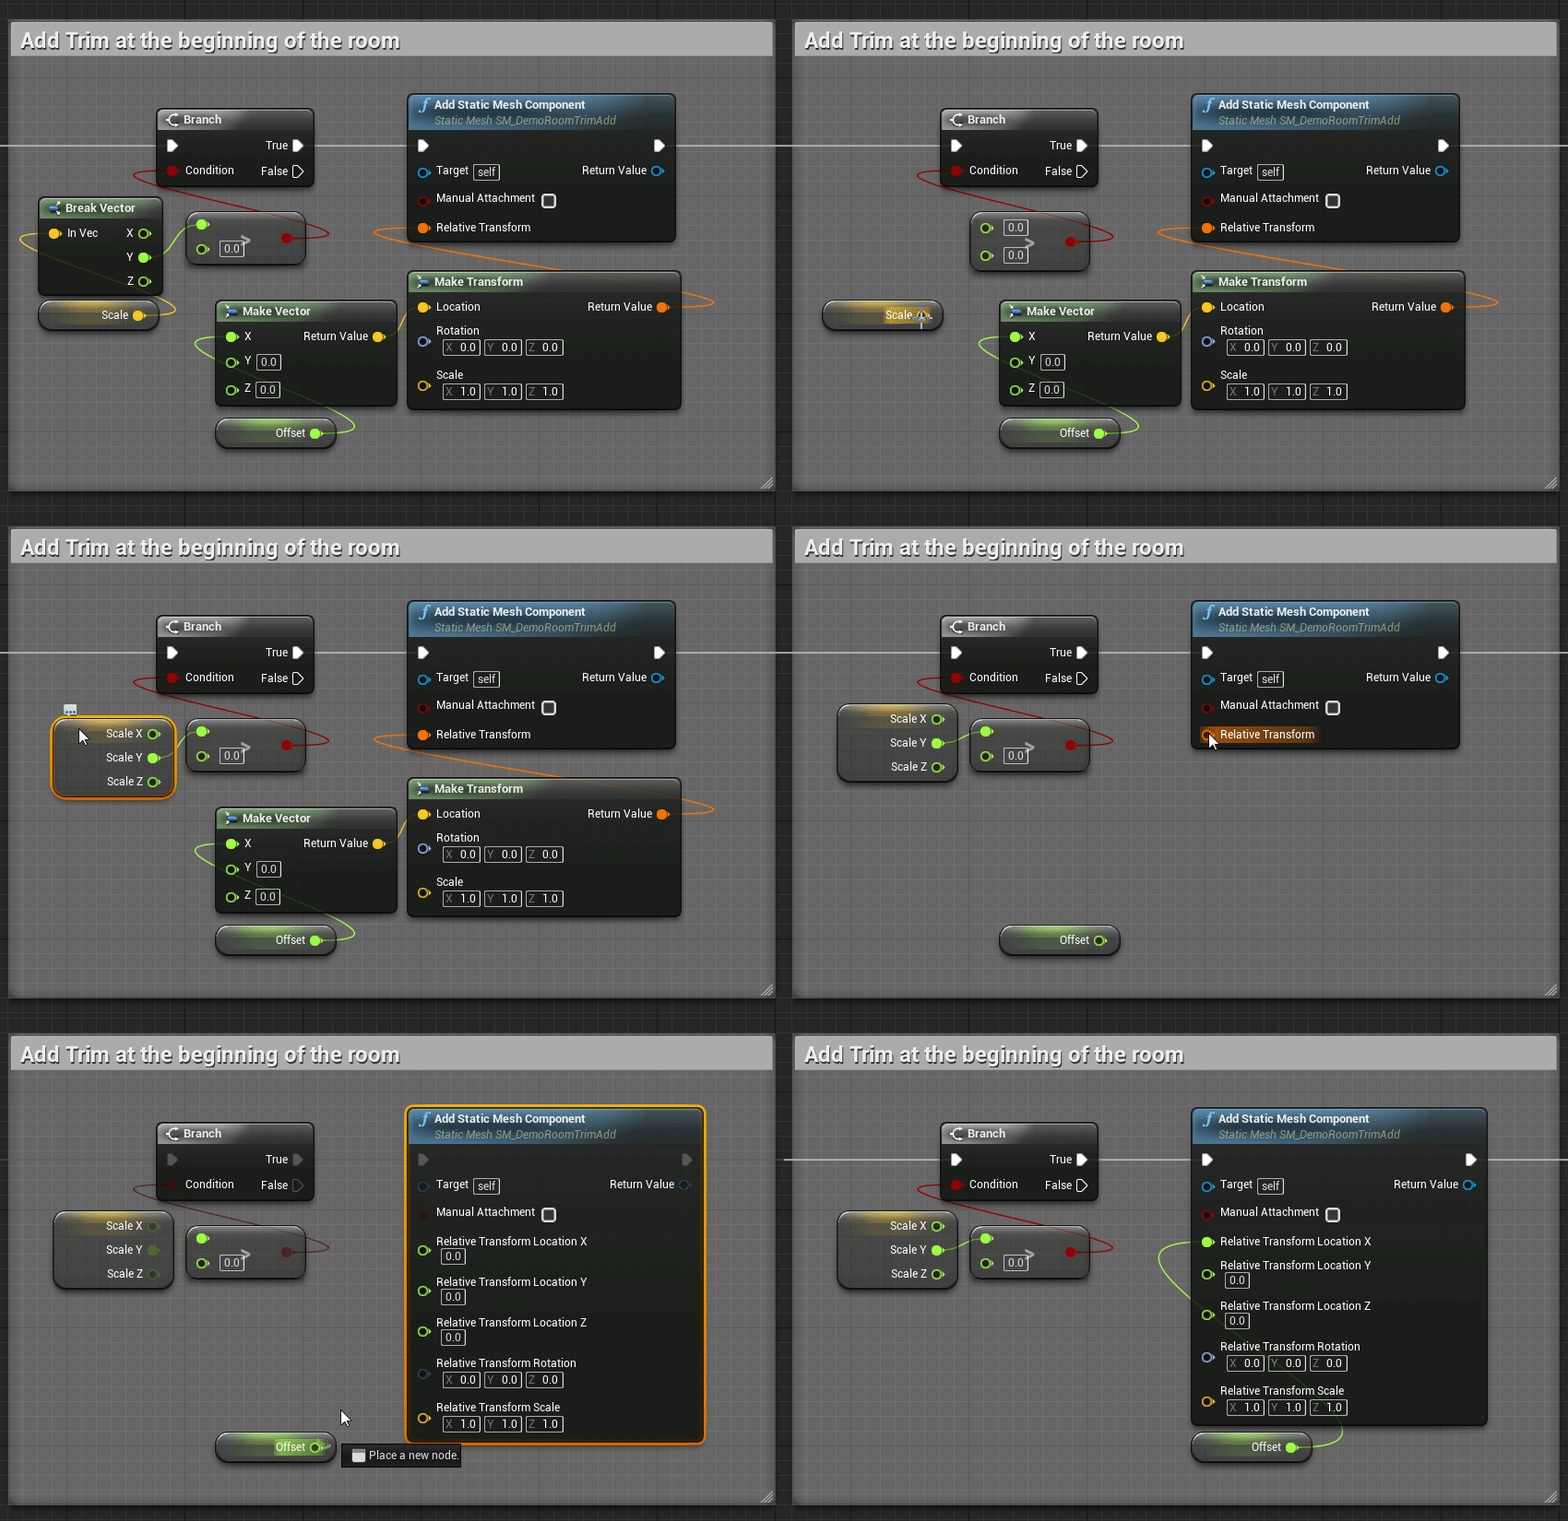
This is a big one. Even simple Blueprints can easily have 20+ nodes if you count simple variable nodes like floats, ints and vectors you need to input into the execution nodes, which actually do something meaningful. Nodes are connected by wires and how you place your nodes has a huge impact on how easy your code is to understand. Take for example the Add Open Trim function from the BP_Demoroom Blueprint from Epic’s ContentExamples project.
You can see long wires going all over the place. To understand what the last node on the far right does, you need to follow the orange wire, go through 3 nodes, then follow the green wire to the very first node of the function to see what the input actually is! Wow!
In general, when you try to understand a Blueprint graph, first you follow the white execution wire. You read the names of the nodes along the execution path and you can quickly see what’s basically happening. Only if you need to know more, you check the inputs of those nodes. This leads us to two simple rules to follow when placing nodes:
- Keep the execution wire in a straight line if possible
(exception are branches and sequences) - Place input nodes close to the nodes they are used for
This way you get easy to read blocks in a line, containing one node connected to the execution wire with all the inputs for that node. Personally, I usually place the input nodes below the execution node, but I’ve seen people also place them on the left side. It comes down to personal preference, just make sure they are close and you don’t have to scroll through the whole blueprint to find the inputs.
A big part of this is to not be afraid to reuse variable get nodes. You don’t need to drag two wires from the same Offset node halfway across the graph. Just get yourself a second node of that variable and place it close to where it is being used. The same principle applies when working inside a function. You often use the input variables several times in your function. Don’t drag wires from the input node. Instead, save them to a local variable right at the beginning of the graph and make use of those variable nodes. Since Unreal Engine 4.16 the inputs of a function are now automatically saved as variables and you can get them without having to set them yourself first. That’s a huge quality of life improvement and makes it so much faster to create clean Blueprint graphs.
Let’s take a look at the Add Open Trim function from the BP_Demoroom Blueprint once again after cleaning it up a bit. Can you believe this is actually the same function as the one at the beginning of this paragraph? After applying the principles introduced above, we can now easily see that only tree things actually happen, with three branch nodes in between. No more chasing wires.
4. Align Feature And Moving Nodes
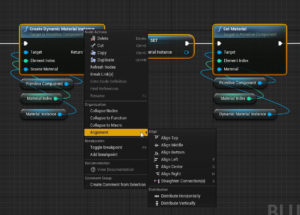
The Blueprint editor actually comes with a feature to help you align nodes, without having to do so manually for every single node. Select multiple nodes and right click one of them. In the Alignment category you’ll find several options to align or distribute your selected nodes. The Straighten Connection(s) options is very handy to quickly align the nodes along the execution wire. Set yourself some hotkeys in the Editor Preferences for these, because using this feature will save you valuable time.
Instead of dragging nodes around with your mouse, you can also use the arrow keys to move them. Just giving you options here, because not everybody knows about this.
5. Use Fewer Nodes By Splitting Structures
This is just a quick tip. When using structures (vectors and transforms are structures) you can right click the pins and split them into their elements. Your graphs will look cleaner and this saves you time placing make and break nodes. You can also recombine the structs again when right clicking.
6. Avoid Crossing Wires
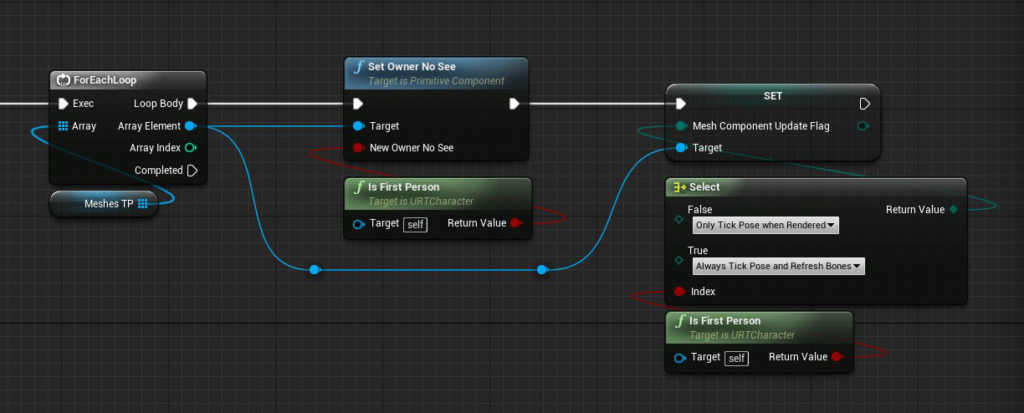
This might sounds obvious but I still see people crossing wires for no reason. A lot of crossing wires can be avoided by what we already covered above. Use multiple variable get nodes and place them close to where they are used. For some nodes like multiply or add the order of the inputs doesn’t matter, so to make it easier for everybody to read, just switch the inputs around if they are crossing. Same goes for branch nodes and sequences. Sometimes, in complex graphs, crossing wires can’t be avoided and that’s OK, we forgive you in that case. 🙂
7. Use Comments
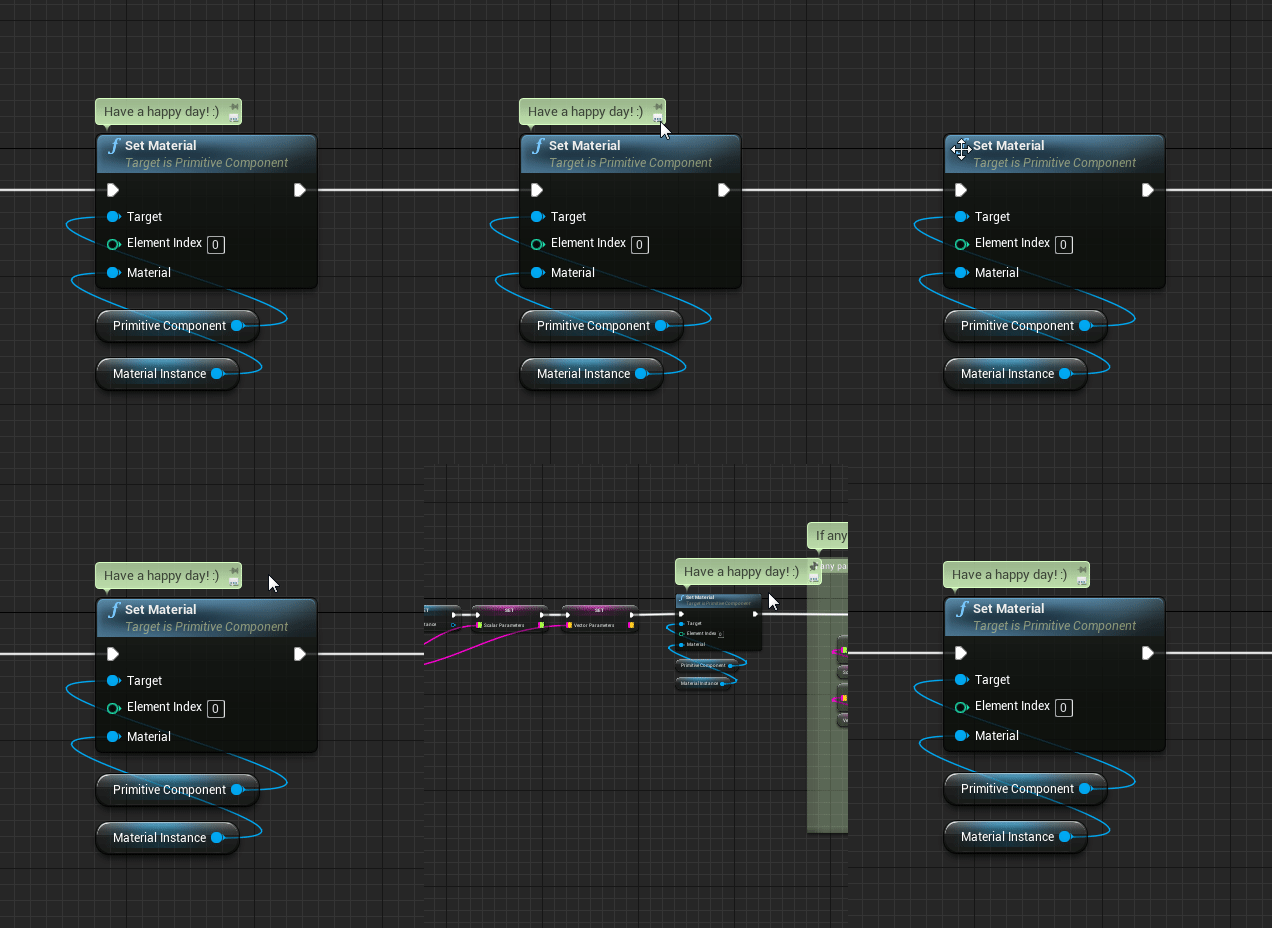
I believe everybody knows this. Drag a box around several nodes and hit the C key to create a comment node, give it a meaningful text and voilá – a comment is born. You can also add comments to single nodes by right clicking and entering the text at the bottom. There are two little clickable icons for that kind of comment, to hide it and to scale it when zooming.
You can set the color of comment nodes in the details panel on the right. The default color for all nodes can be set in the Editor Preferences > Default Comment Node Title Color. A different color than white can help readability because the color for the comment text is white and can’t be changed without editing the engine source as far as I’m aware.
Comments are a great tool to organize your code and help others (and yourself!) understand it better. However, using too many comments can also be hurtful for readability. You don’t need to point out the obvious. I hope I will never see a comment on a multiply node saying “Multiplying two floats to get their product”.
8. Reroute Nodes
If you follow the advice given so far, you will very rarely feel the need for reroute nodes. In certain situation they can help with readability though. Just double click a wire to get a reroute node, which sole purpose is to control the path of the wire.
9. Keep It Organized While You Work
Keeping your Blueprints organized isn’t a very difficult task to do when you keep a few key principles in mind. It’s far easier to consistently create clean code than to clean it up later. Don’t just “quickly mock something up” with total disregard for all the things outlined here. You might finish your little scripting adventure and then when done you realize you created a mess, but since it’s already working “why clean it up?”. You and everyone else will regret your sloppy work later when it’s time to change or fix something.
To conclude this article, let me leave you with two more easy and basic principles.
- Leave things better than you found them. When opening any Blueprint for any reason, take a quick look and before closing it again, do the Blueprint a little favor by spending 10 seconds to make it a littler cleaner and easier to read. Write one comment, fix one stretched out wire or put some variables into a fitting category and save. You will feel better about it and over time even the messiest Blueprint is bound to end up clean.
- Friends do not let friends have bad style. If you work on the same project with several people, share this guide with them. Everybody benefits from cleaner and more readable code. If you see someone feeding the Spaghetti Code Monster another Blueprint, kindly remind them how to beat it.
If you have any additional tips and tricks for creating and keeping clean Blueprints, feel free to comment or write me a message. I’d be glad to hear what you have to say!

